Local Docker compose
This page describes how to quickly setup a self-managed instance of R2Devops for testing purposes using Docker-compose on your local computer. This is not suitable for production
See production ready methods on Home page
During the analysis, no data leaves your environment, ensuring the confidentiality and security of your information.
💻 Requirements
🦊 GitLab Application
- On your GitLab instance, open the
Applicationspage:Your picture > Preferences > Applications(example: gitlab.com) - Create an application with the following information :
- Name:
R2Devops self-managed - Redirect URI :
http://localhost:3001/api/auth/gitlab/callback - Confidential:
true(let the box checked) - Scopes:
api
- Name:
- Click on
Save Applicationand you should see the following screen: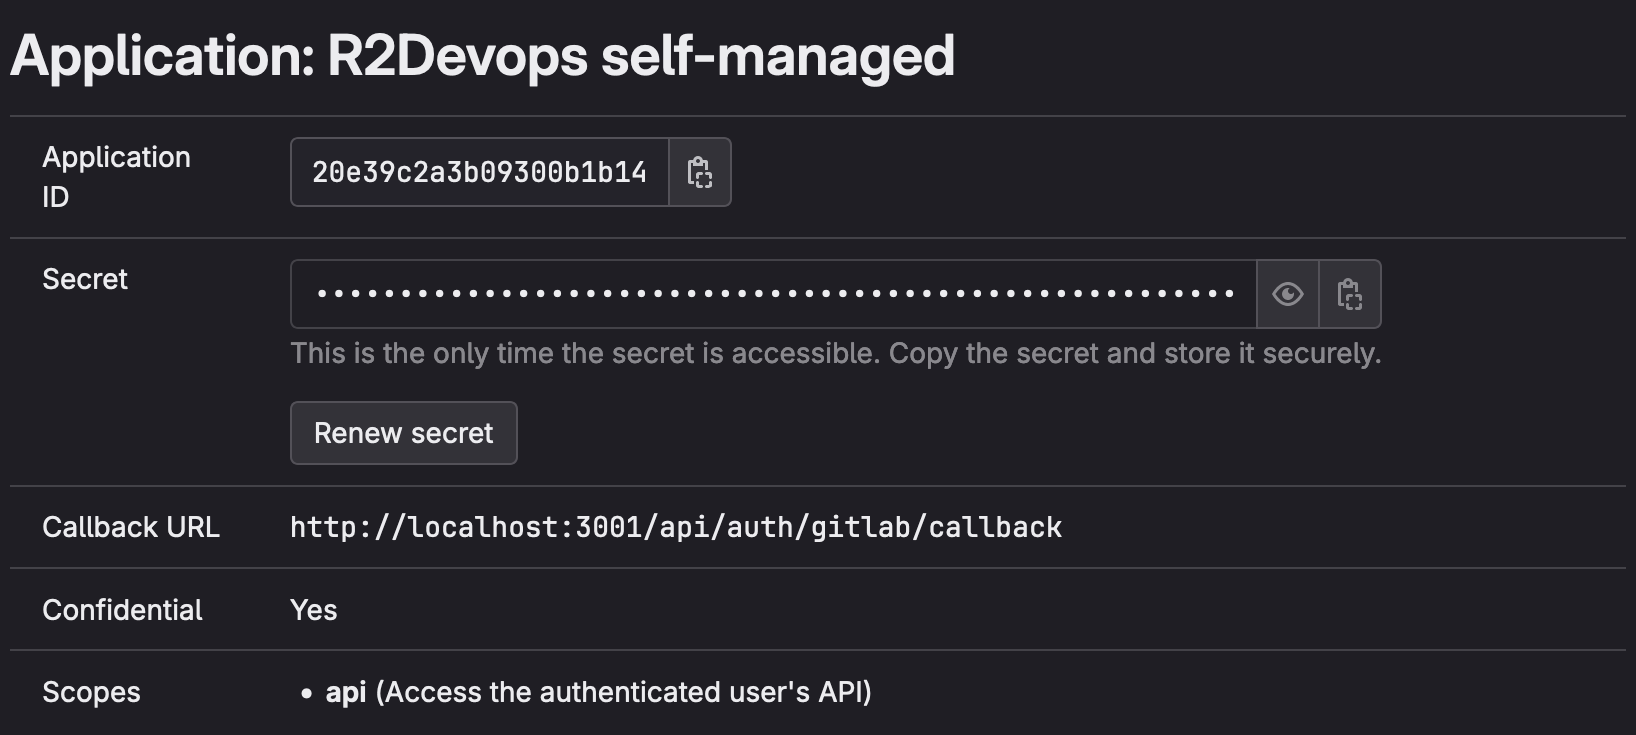
- Keep this GitLab tab open, the
Application IDandSecretwill be used in the configuration step
📥 Setup your environment
- Clone the repository locally
git clone https://github.com/r2devops/self-managed.git r2devops
cd r2devops - Create your configuration files
cp .env.local.example .env
cp .docker/r2devops/config.local.json.example .docker/r2devops/config.json
📚 Update the configuration
-
Edit the
.envfile: copy/paste theApplication IDand theSecretfrom the application you just created.envGITLAB_OAUTH2_CLIENT_ID="<application-id>"
GITLAB_OAUTH2_CLIENT_SECRET="<application-secret>" -
Only if you use a SaaS version of GitLab (like
gitlab.com): edit the.envfile to add the name of your top-level group inORGANIZATIONvariable (else, let it empty):.envORGANIZATION="<top-level-group-path>" -
Replace
<your-gitlab-url>by domain of your GitLab server in the following command and run it:export GITLAB_INSTANCE_URL="https://<your-gitlab-url>" -
Run the following commands to update configuration:
sed -i."" "s|GITLAB_INSTANCE_URL|${GITLAB_INSTANCE_URL}|g" .env
sed -i."" "s|GITLAB_INSTANCE_URL|${GITLAB_INSTANCE_URL}|g" .docker/r2devops/config.json -
Run the following commands to generate random secrets for all components:
sed -i."" "s/REPLACE_ME_BY_SECRET_KEY/$(openssl rand -hex 32)/g" .env
sed -i."" "s/REPLACE_ME_BY_JOBS_DB_PASSWORD/$(openssl rand -hex 16)/g" .env
sed -i."" "s/REPLACE_ME_BY_JOBS_REDIS_PASSWORD/$(openssl rand -hex 16)/g" .env
🚀 Launch R2Devops!
- Start R2Devops
docker compose -f compose.local.yml up -d - Open your R2Devops test instance 👉 click here 🎉
⏫ Update R2Devops
Follow these steps to update your self-managed instance to a new version:
- Navigate to the location of your
self-managedgit repository - Update it
git pull - Open the
.env.local.examplefile and copy the values ofFRONTEND_IMAGE_TAGandBACKEND_IMAGE_TAGvariables - Edit the
.envfile by updating values ofFRONTEND_IMAGE_TAGandBACKEND_IMAGE_TAGvariables with the values previously copied.envFRONTEND_IMAGE_TAG="<new frontend version>"
BACKEND_IMAGE_TAG="<new backend version>" - Restart your containers
docker compose -f compose.local.yml up -d - You have successfully updated R2Devops on your server 🎉